//Shubha Bala /November 23 / 2012
Google Analytics 102 – Advanced reports, AdSense and AdWords
Once you’ve mastered the basics of Google Analytics, this resource will show you how to make more advanced reports, as well as how to link AdSense and AdWords to your account. It is followed by exercises to help practice what you’ve learned.
Controlling Your Reports
One important feature to note is that you can add an “annotation” to any line graph by double clicking on a certain date and then entering a note into the pop-up text box. This can be very useful if multiple people are viewing this profile and you want to indicate that a significant editorial or technical event happened on a certain day that could account for significant changes in metrics.
When viewing a report in the standard table mode, you can change the column that it sorts by, by clicking on the column label. The arrow beside the metric name will indicate which variable it is sorting on.
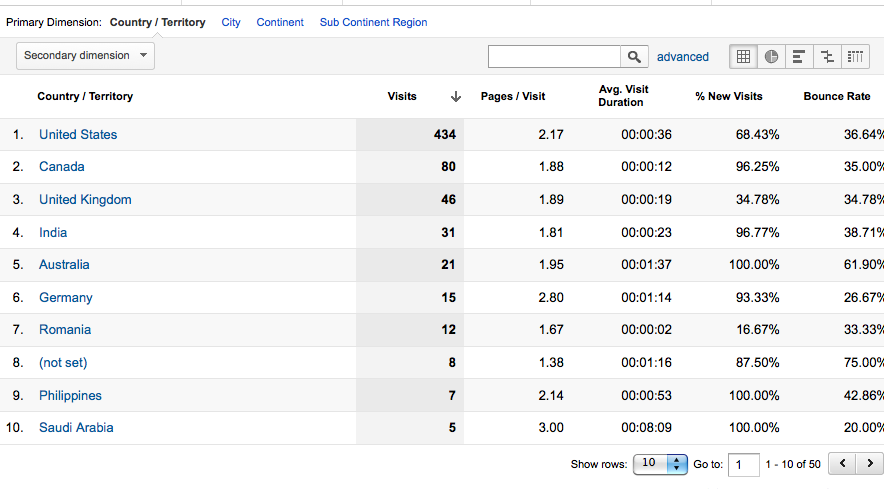
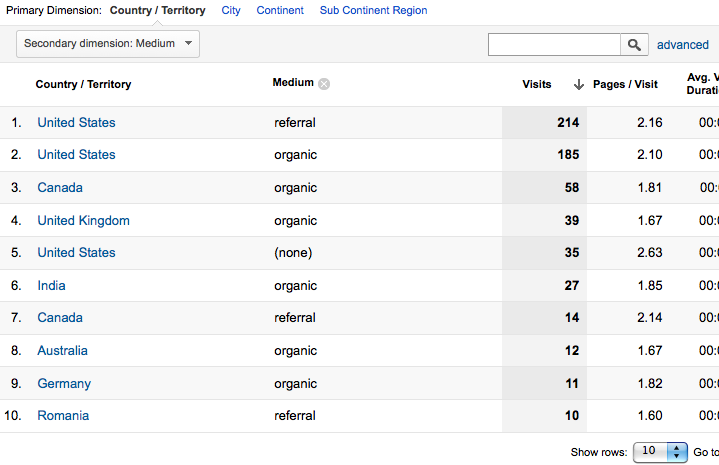
Standard reports automatically select a primary dimension, but in some cases it is possible to change the primary dimension, and usually it is also possible to add a secondary dimension. For example, clickClickA click can denote several different things. It can be a metric that…//read more on Demographics > Location. By default, the primary dimension of this report is Country / Territory. Across the top you can change this to City, Continent, etc. You can also add in a secondary dimension to further break down your metrics. For example, we could choose Medium. This would result in each row representing a combination of the country and medium the visitorVisitorIndividual or browser which accesses a Web site within a specific time period.//read more came from.
When viewing a report, the default view is usually a line graph or map at the top, and a table of values at the bottom. These views can also be changed.
For example, with some reports, such as New vs. Returning, you can switch the graph view to a motion bubble chart by clicking on the toggle button at the top of the graph. This could be useful if you wanted to view a graph with more than 2 variables, since you can include size of the bubble as one of the metrics. You can also “play” the graph to see how the values change over time.
More powerful, though, is if you scroll down to the table on the top left hand side, beside the link “advanced”, you can switch the view.
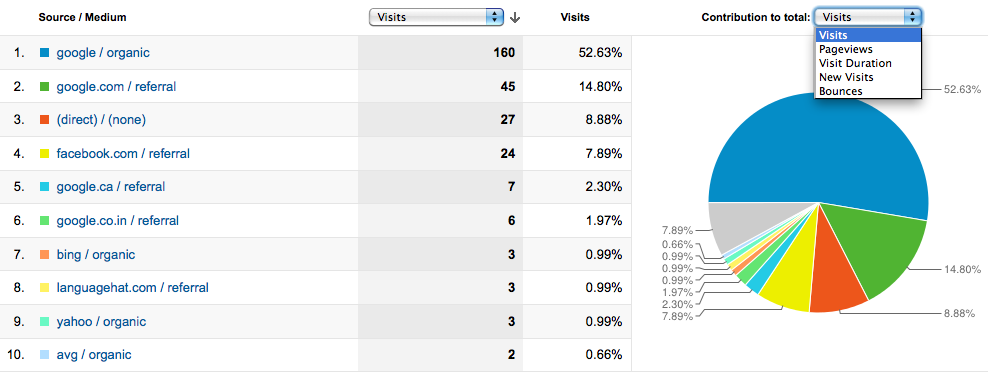
If you click the second button you will see a pie chart beside the table. You can change what the pie chart shows your report relative to. In this example, it shows each Source/Medium as a percentage of the total visits, but you can change that to a percentage of the total Pageviews, Bounces, etc.
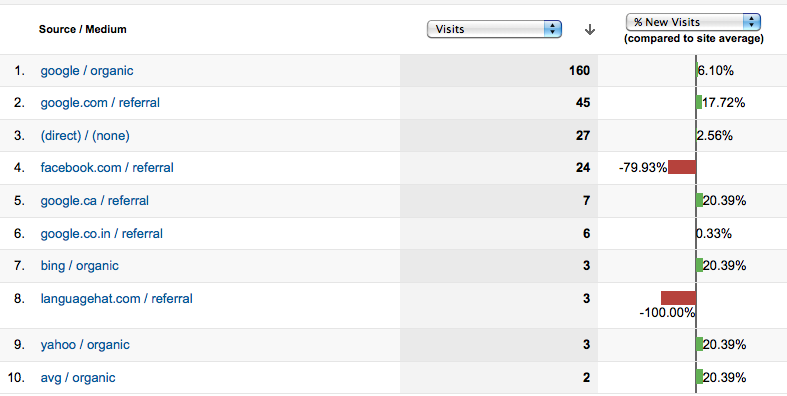
The third button shows you a performance bar chart, which simply adds a horizontal histogram to your metrics. The fourth button is very useful – it gives you a bar chart comparing each value to the site average. You can also change which metric it graphs.
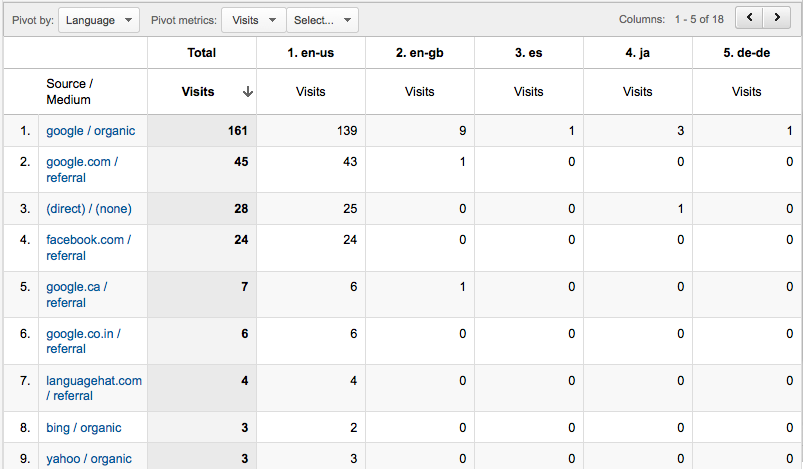
The last button shows you a pivot table of the report. In the pivot view, the primary dimension will appear as row headers. You can select different columns by selecting the drop-down beside “Pivot by”. You can also select what metrics appear in the table. In this example, I’ve shown the number of visits for each Source/Medium, based on the language of the visitor:
Advanced Segments
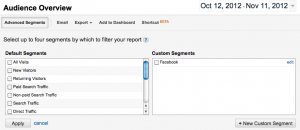
Advanced Segments are a critical tool to be able to use Google Analytics effectively. Often you want to observe, or compare, what specific types of users are doing on your website. At the top of a report, beneath the date selection, click the button Advanced Segments.
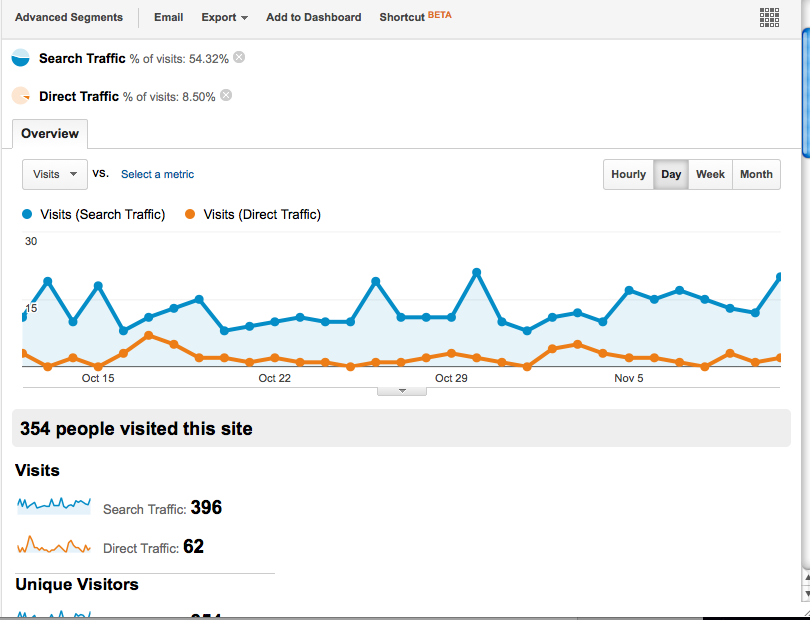
Here you see a list of default segments to select from. For example, we can select “Direct traffic” and “Search traffic” if we want to see how they differ in their interactions with your website. Now, any report you select will show a comparison between the behaviour of direct traffic and search traffic.
To get rid of the segmenting, simply click the x’s beside the segments at the top of your report.
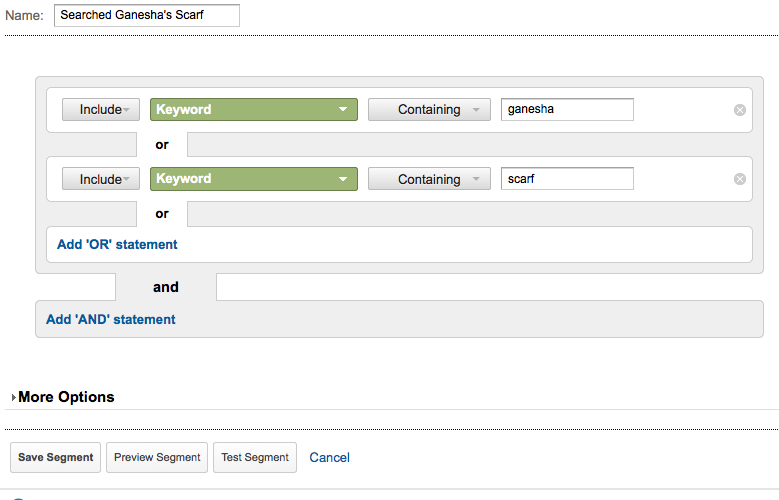
Even more powerful, is the ability to create custom segments. Let’s say we want to see the behaviour of all the people that searched for some version of our website. First click the Advanced Segment button, and then click “+New Custom Segment” in the bottom right-hand corner. My website is called Ganesha’s Scarf so I want to include people who came to the site by searching “Ganesha” or “Scarf”
First create a name for the segment. Then, under the first option, make sure “Include” is selected. Find Keyword from the Dimension dropdown, which refers to the search keywordKeywordSpecific word(s) entered into a search engine by the user that result(s) in a…//read more . And then we can use “Contains” Ganesha. We could also use exact match if we wanted those that searched just for “Ganesha”.
Then, under OR, select to add another option. Repeat the same steps as the statement, but this time use contains “Scarf”. Now we will be including anyone who’s searched anything with the word Ganesha in it, or the word Scarf. You can test or preview the segment before you save it.
Now whenever you click “Advanced Segment”, on the Custom Segments side you will see the segment you just created. Selecting this will show us whether people who are searching for our website are actually finding what they were looking for, or is their bounce rate high.
Custom Reports
Lastly, for reports, we will look at custom reports. You may often find that the standard reports are not including the metrics you are interested in. In those cases, you can easily build a custom report. Click on the Custom Report heading, and then the “+New Custom Report” button. In this example, let’s say we want to know how many unique visitors visitVisitA single continous set of activity attributable to a cookied browser or user…//read more our website from different countries. The standard Location report gives us the number of visits, but not the number of unique visitorsUnique VisitorsUnique individual or browser which has accessed a site or application and has…//read more .
First name your report. Then name your report tab – a custom report can have multiple tabs. Add in the metrics we would like to see in our report. In this case, we want to include “Unique visitors”. You can include multiple metrics to that particular group such as visits, pageviews, etc. We can also create a second metrics group which will appear as a toggle link on the top of our report and could contain a different set of metrics. Lastly, select the dimension – in this case “Country”.
Once you’ve saved your custom report, it will always appear when you click the “Custom Reports” button on the menu, as well as in the sidebar when you are viewing any Custom Reports.
Enabling AdSense
AdSense is the Google Ad network that allows you to get revenue on your website by showing your users relevant ads and being paid each time they click on them. It’s important to maximize your revenue by understanding when, where, and why users click on your ads and, over time, optimize the way you display ads. The best way to do that is to incorporate your AdSense data into your Google Analytics account.
To connect your existing AdSense account to your Google Analytics, first go to the Admin panel and select the account you want to connect.
Next, click the Data Sources tab.
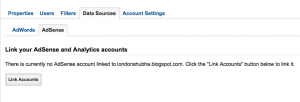
Click the AdSense tab and click to Link Accounts.
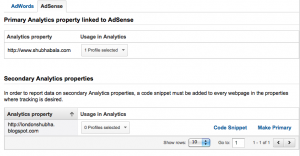
You will be asked which property in that account is the primary one that contains your AdSense ads. Once you select the appropriate web property, your AdSense statistics starting that day will be available in your Google Analytics reports.
In brief, you can see your AdSense report summary under the standard reports in Content > AdSense. You will also now see that in any of the standard DemographicsDemographicsCommon characteristics used for population or audience segmentation, such as…//read more report, there is a toggle link to see AdSense for the report. For example, if you click on Location, and then click the AdSense link at the top of your location report, you can see what country’s visitors brought you the most Ad revenue.
Enabling AdWords
AdWords is the opposite end of the ad network spectrum – it allows you to display ads on other websites which are part of the Google ad network.
To enable AdWords in your Google Analytics account, you need to first login to your Google AdWords account. Note that the Google AdWords account must be setup with the same login as your Google Analytics account.
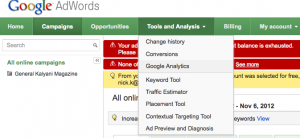
Under “Tools and Analysis” select “Google Analytics”.
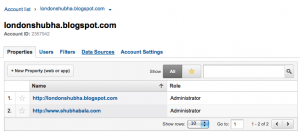
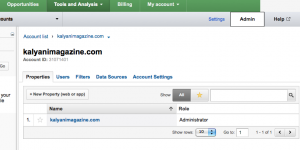
This will bring you to a list of Accounts in your Google Analytics account. Click the Admin button in the top left corner.
Select the Account you want to link to AdWords – the one you are using AdWords to drive traffic to.
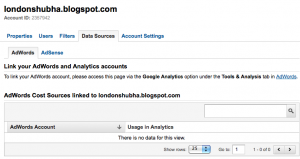
Click on the Data Sources tab. You will see the sentence: “The AdWords account for xxxxx@gmail.com (601-133-1259) will be linked to www.youraccount.com” and below that a button to “Link Accounts”.
Click Link Accounts, and make sure to select “Auto-tag my links”. Select the drop down and select which profiles you want to link AdWords to.
Then you will see all the linked profiles in the table.
In Google Analytics, you can now see several standard reports under Advertising > AdWords. You can get an in-depth analysis of what ad word campaigns are working for you by seeing not only who is clicking onto your site, but their bounce rate, the pages they visit, etc. This will help you understand whether the money you are spending is resulting in quality visitors, as opposed to just an increase in traffic. For example, if you find the bounce rate is very high, then it might mean your ad needs to be reworded, or perhaps you should be linking to a different landing pagePageA document having a specific URL and comprised of a set of associated files. A…//read more .
EXERCISES
- Compared to the average, what percentage of visits to your site were from your target region/country?
- Show a pie chart of what Medium people came to your site from who were using mobile devices.
- What are the top 5 landing pages for people that came through your site through a search, but who did not search directly for the name of your website or news organization?
- Create a custom report that shows you the number of unique visitors that visited different pages on your site.
- Create a word cloud view of search terms that people come to your site using. Now create the same word cloud, but removing the top 3 search terms.
- If you have AdWords – see what times of the day people are most likely to come to your website.
- If you have AdWords – see what the bounce rate is like for people that come to your site through your campaign, and are new visitors.
- If you have AdSense – what pages on your site resulted in the most AdSense ads viewed? The highest revenue?
- If you have AdSense – show a pie chart showing the amount of revenue that new visitors result in versus returning visitors and another for the country visitors come from.
Article by Shubha Bala

Leave your comment